• Skip to primary navigation
  • Skip to main content
  • Skip to footer
Wisconsin Badger Camp

Wisconsin Badger Camp

  • Camper Registration
  • Contact
  • Badger Camp 1966 Event
  • Donate
  • About
    • History
    • Mission & Philosophy
    • Facilities
      • Grounds
      • Cabin Rentals
    • Staff
    • Photo Gallery
    • Annual Report
  • Programs
    • Summer Programs
    • Application and Forms
    • At Home Activities for Families
  • Employment
    • About Employment
    • Staff Applications
    • Volunteer
  • Ways To Give
    • Donor Advised Funds
      • Building Fund
      • Campership Fund
      • In-Kind Donations
      • Other Grants
      • Wish List
  • Online Camp Store

Uncategorized

Paper Link Snake

July 31, 2020 By Steve Van Kooten

Activity Name: Paper Link Rattlesnake

Introduction: Summer camp crafts often look to nature, wild life and the camp experience for learning opportunities and a chance to better understand the natural world. In this activity, we can make a rendition of one of our many trail friends.

Size of Group: Any

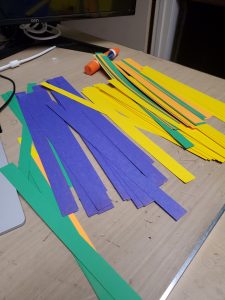
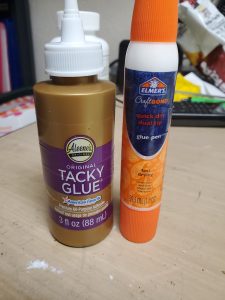
Equipment: Construction Paper, markers, scissors and glue stick.

Objective: Project completion, teachable moments and education supplementary activity.

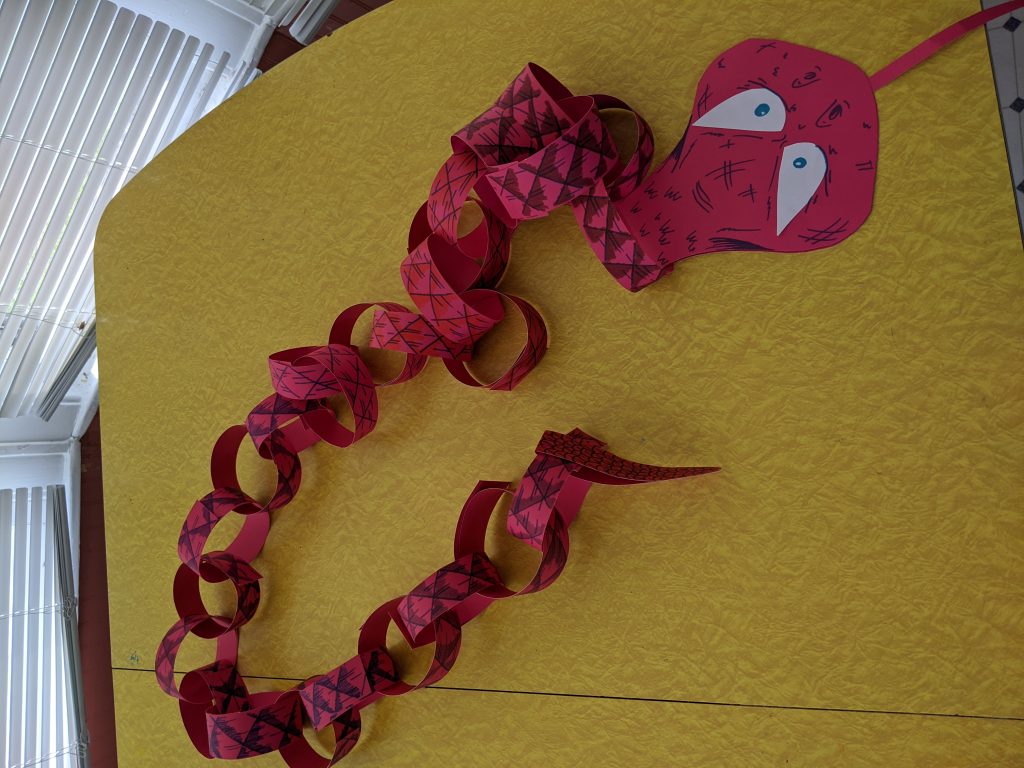
Description: Take construction paper and cut into long strips with scissors. Utilize a bright color for the snake’s body. Use markers to draw designs on the strips to mimic snake scales or patterns. Glue strips together to make a chain link for the snake’s body. Next, fold a piece of construction paper in half and cut out a triangular pattern to make the snake’s head. Draw a nose, scales and any other details on the top (the more detailed the better). Next glue the head to the end of the chain link. Fold another piece of construction paper paper and cut out a smaller triangular piece to design as a rattle for the opposite end of the chain. Lastly, use white construction paper to cut out eyes and glue them to the snake’s head.

Filed Under: Uncategorized

Dueling Catapults

July 30, 2020 By wibadgercamp

Activity Name: Dueling Catapults

Introduction: It’s important to participate in competitive games and challenge yourself and others to better their skills. This is an activity that can stimulate both the creative and competitive instincts in participants to create an engaging experience.

Size: 2-4

Supplies: 4 #2 pencils, 4 18oz. plastic cups, cardboard, large paper clips, rubber bands, clear adhesive tape, 2 wooden rulers.

Objective: Competitive play, peer cooperation and teamwork, sportsmanship, building/construction.

Description: Each player or team tapes two cups upside down to the cardboard, then tapes one pencil across the tops of both cups. Next, a second pencil is taped to cross the front of both cups. For better results a tray of some sort should be taped to the end of the ruler. The ruler can then be taped across the middle of the top pencil. A rubber band can be looped over the bottom end of the ruler, then wrapped around the lower pencil, and then looped over the lower end of the ruler again to create a pulley. Use aluminum foil for ammunition. For the game, each player or team takes a turn moving their launcher a few inches on the designated battlefield and then gets one shot. Teams/players alternate turns until one is hit by the other or a certain number of points are reached.

Filed Under: Uncategorized

Letter Quilling

July 30, 2020 By wibadgercamp

We found this art type unexpectedly scrolling through the internet and one of the pieces was being sold for about $70. Do you think ours is worth that?

Size of group: 1-2

Supplies needed: Construction paper or Card Stock cut into 1/2 inch strips, Glue, Something small and round such as a colored pencil, A letter in mind to make a design or a shape, One piece of firm card stock.

Objective: Fine motor skills, creativity, patience, project completion, Self Confidence in art skills.

Directions:

The first thing you want to do is take your single piece of card stock and trace your letter with a light pencil line and shape so that you can stand a few of the strips of paper up on edge to outline the entire shape. You might have to hold the edges up for a little bit so the paper does not keep falling over but once the glue becomes tacky then it will stay up on its own.

Now you want to take the time to roll up all of your strips of paper (we did it while we went instead of all at once). To do this it is easiest to use your colored pencil and wrap the paper around it.  When you are done with that you can either put glue on the bottom of each spiral piece and glue it down in random places and fill the entire space. You can also put the glue on the paper and just press the spirals down so you do not have to glue each and every one. Some spirals need to be smaller and some will be larger so the longer you hold the spiral on the pencil the tighter it will wrap and be smaller in size and the less time wrapping it will result in a larger spiral.

Gluing the pieces near the edge to the sides will also result in a nicer cleaner design. Once finished, it is best to let your design dry before moving it around too much or trying to hang it.

What other shapes would you like to see us try and do? Email arist@badgercamp.org with your designs and or what you would like to see us do!


Filed Under: Uncategorized

Late for Badger Ball

July 28, 2020 By wibadgercamp

Use your arrow keys to direct Badger Bill to Badger Ball. He might find a few things left behind for him on the way!

Filed Under: Uncategorized

Backyard Volcano

July 28, 2020 By webwise

Introduction: Homemade volcanoes are a staple of childhood; from science fairs to home rooms, volcanoes can be made easily and provide and exciting, memorable project that appeals to all kinds of people!

Size: 1-4

Supplies: 1 water bottle, baking soda, vinegar, food coloring, whipping cream.

Objective: Project completion, teachable moments, educational activity, outdoors activity.

Description: Fill water bottle ½ full of baking soda, a small amount of whipping cream, and a few drops of food coloring. Next, fill a measuring cup with ½ cup of vinegar and set aside. Bury the water bottle and surround it with a mound of dirt, leaving the mouth open at the top. Next, pour in the vinegar and watch the eruption!

Check out the Kids Activity Blog for MORE activities for adults and children

How to Build a Volcano

Filed Under: Uncategorized

Animal Trivia- The start of weekly trivia

July 27, 2020 By wibadgercamp


To enjoy this first session of trivia, Click on the “Animal Quiz” Link below and begin! We hope you like it and will give us feedback on it once you complete it! Images of the questions are below if you want to take the quiz and then check answers later.

To find answers and the whole quiz – CLICK HERE FOR THE ANIMAL QUIZ

Prev
Next

Filed Under: Uncategorized

  • « Go to Previous Page
  • Page 1
  • Page 2
  • Page 3
  • Page 4
  • Page 5
  • Page 6
  • Interim pages omitted …
  • Page 14
  • Go to Next Page »
  • Home
  • About
  • Programs
  • Employment
  • Facilities
  • Ways To Give
  • Privacy Policy
  • Cookies Policy
  • Contact

Footer

Main Office (open year round)

Wisconsin Badger Camp
PO Box 723
Platteville, WI 53818
Phone: 608-348-9689
Fax: 608-348-9737

Camp Office (open June 1 – August 20)

Wisconsin Badger Camp
11815 Munz Lane
Prairie du Chien, WI 53821
Phone: 608-348-9689
Fax: 608-348-9737

Follow Us

 Twiiter  Google

Wisconsin Badger Camp © 2025 webwisedesign.com

Powered by Ultimate Auction