OK, this one is good for now to decorate gardens and or your porch. It is popular even around Holiday time. Maybe try to make a new one for each holiday!
Size of group: 1-2
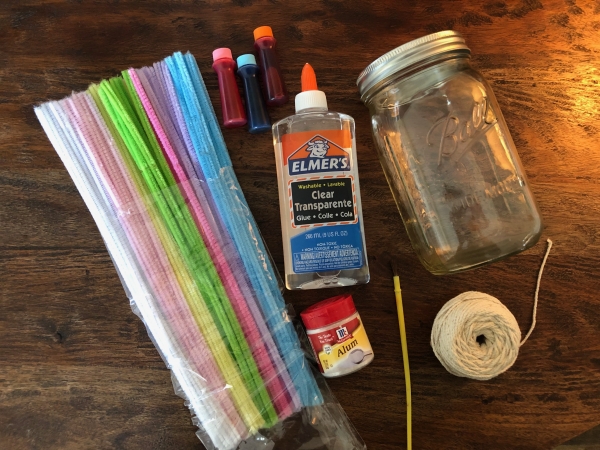
Materials needed:
Foam Cone- Hat and body
Chunky Yarn- To be pulled apart for hair
Sock- Fuzzy ones from the dollar store
Scissors
Wood Knob
Felt or fabric for the back of the gnome
Glue Gun
Glue Sticks
Small Elastic Hair Band or Rubber Band
Description:
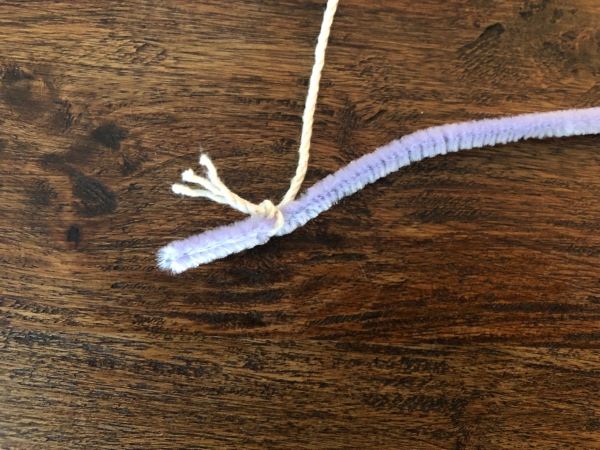
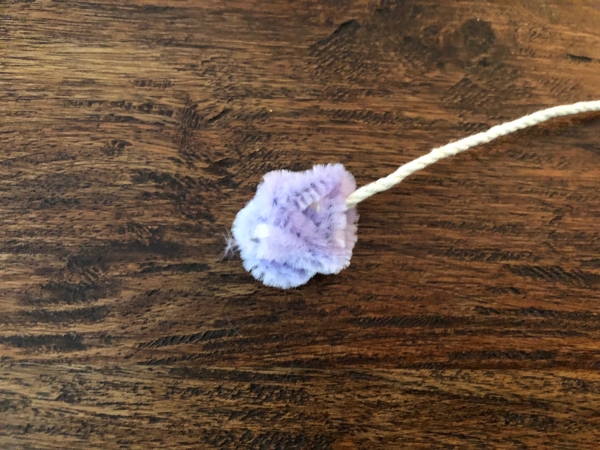
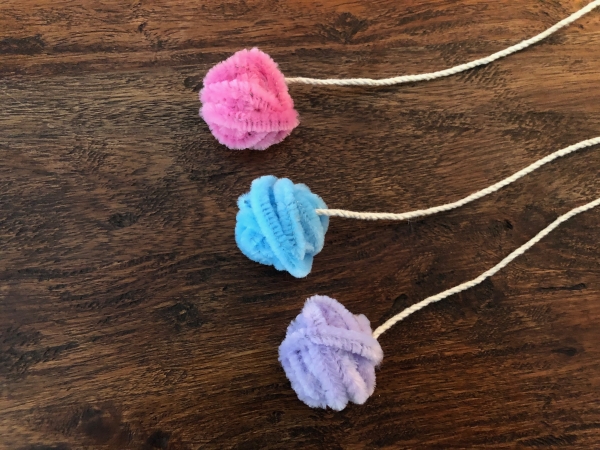
STEP ONE: Measure and cut your yarn. We cut ours in 7 inch sections.
STEP TWO: Pull the strands of each section of yarn apart. Each section of yarn will have four separate strands. You will end up with a big pile of yarn strands.
STEP THREE: Glue Strands of Yarn to the Foam. Place a dot of hot glue onto the foam, about 2-3 inches from the top of the cone, and press the yarn down onto the glue, hold down for a few seconds to make sure that the yarn holds. (Be careful not to burn yourself!) Continue gluing pieces of yarn all the way around the cone. If you want to only do the hair in the front the use fabric around the bottom of the cone and make it ats as a shirt. Glue it on all the way around and use the hairs as only a beard.
STEP FOUR: Place the sock down onto the cone. Place the sock about half-way down the cone, then tie an elastic band around the top of the sock to make a little “ball”.
STEP FIVE: Glue on the wood knob. Place the wood knob directly under the rim of the sock “hat” to make it look toke a nose.
STEP SIX: Find any holes that you may have where you can see the foam and glue on extra yarn, and trim any pieces of yarn the are too long. You want your gnome’s “hair” to extend about 2 inches past the cone.