We have made our bird feeders before, but we haven’t made a birdhouse this summer yet so here it goes!
Size of group: 1
Materials needed:
- Milk Carton
- Scissors or Exacto Knife
- Acrylic Paint
- Stick/Twig
- Small rock or weights
- Creativity
- String
- hot glue gun/glue sticks
Objective/outcome: Fine and Gross Motor Skills, Appreciation for nature, Project Completion, Project Enjoyment
Directions:
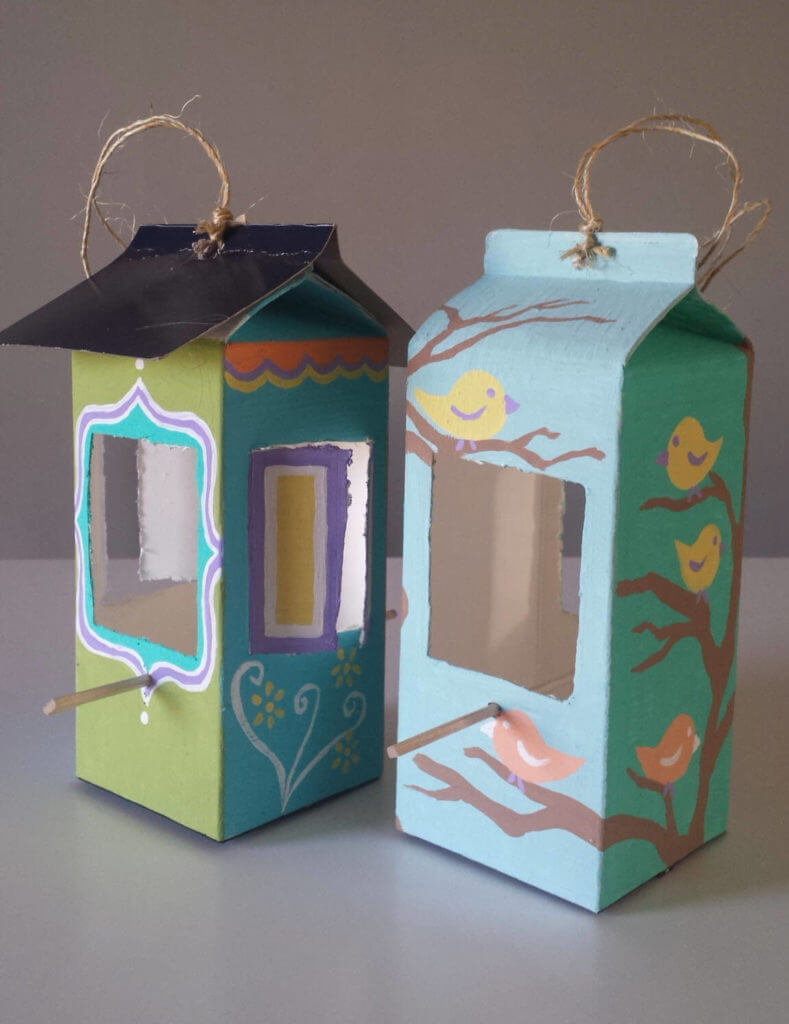
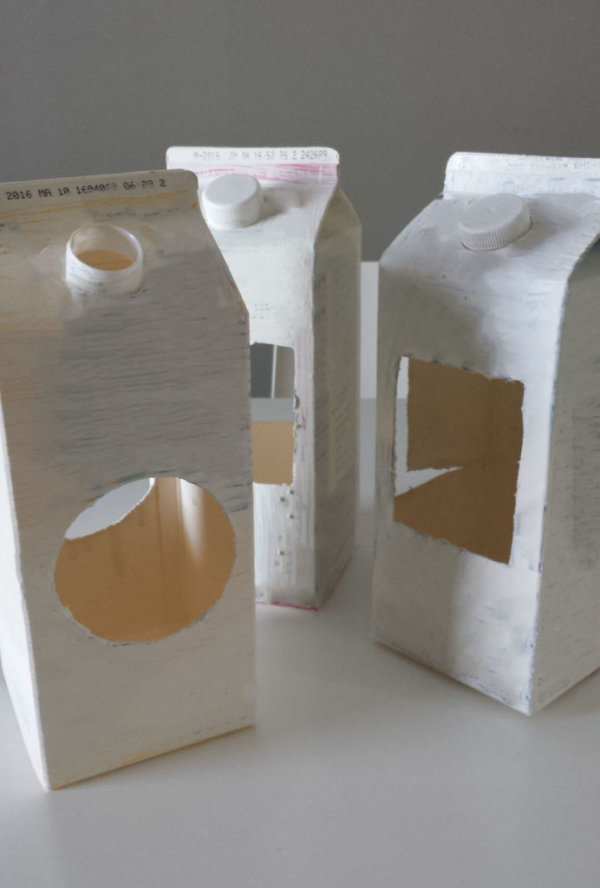
First, we start by finishing a jug of juice or milk in the carton containers. Rinse the jug out and let it air dry with the top off of it. Once it is dry, cut out a round 2″ hole in the middle of the container. This is the hole in which the bird will enter the house.
Once the hole is cut, it is time to paint. Put a cover layer of black or white on the whole things so you can paint on top of it without the carton’s designs getting in the way. Let it dry.
After it is dry paint it whatever design you might want to do and let it dry again.
Once this is finished drying then you can start to put finishing touches on. The stand that the bird will stand on can be from a wooden dowel or a twig gotten from outside. Cut a small hole directly under the large entryway hole. Poke the twig or stick through and hot glue on both sides of it and let it dry for a few minutes while cutting your string to the desired length.
Once that has dried, in the top corners of the carton, poke one hole on each side. This will be where the strings go through and you can hang the birdhouse up. Put one end of the string through on each side and tie around the hole.this will help it hang evenly instead of a single hole in the center.
Once this is done the last step is to insert little rocks into the bottom of the birdhouse. this will help it from swinging around when hanging and will weigh it down. Gluing them to the bottom is not a bad idea either!
Find the Post I used for the pictures below. This is also a great idea for birdfeeders too!